Sephiria Beginner Guide
A practical first-route through combat basics, node choices, hidden rooms, inventory placement, weapon enhancements, and early mistakes to avoid.
Quick answer
Treat your first Sephiria runs as route learning. Pick one weapon, learn its safe attack window, then choose rewards that solve the run you already have: slow damage, lost health, weak control, unreliable triggers, or a cramped inventory.
First-run plan
Your first goal is not to memorize every system. Leave the run knowing which attack felt safe, which effect activated consistently, and which decision you would change next time.
| Step | What to do | What you should learn |
|---|---|---|
 1 1 | Choose one weapon and stay with it. | Its normal attack, dash attack, special action, and recovery time. |
 2 2 | Pick effects you can trigger on purpose. | Whether your weapon and habits actually activate the reward. |
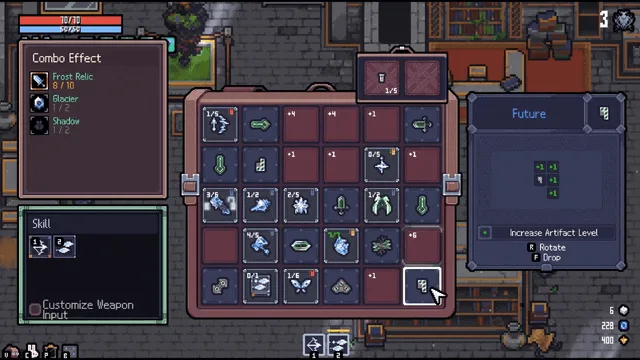 3 3 | Rebuild the inventory after important pickups. | Whether Tablets raise the pieces that matter or disable them by placement. |
 4 4 | Solve the current problem before chasing a final build. | Whether the next reward should be damage, survival, control, MP, or space. |
 5 5 | Carry one lesson into the next descent. | Which weapon action, reward type, or layout choice deserves practice. |
Your next three runs
Use the next few descents as practice runs. Do not try to learn every weapon, artifact, slab, and combo family at the same time.
| Run | Main focus | What to do before leaving each reward screen |
|---|---|---|
| 1 | Learn one weapon rhythm. | Ask whether the reward helps the attack, dash, special action, or defense tool you are actually using. |
| 2 | Pick rewards by the current problem. | Name the problem first: slow damage, lost health, weak control, unreliable activation, or cramped inventory. |
| 3 | Start reading the backpack. | Move artifacts and slabs so the strongest active pieces keep their levels and combo tags. |
After those runs, open Weapons Guide if the weapon feels wrong, Artifacts & Slabs if the backpack feels confusing, or Build Planning if a route is already starting to form.
The first things to learn
| Priority | What to learn | Why it matters |
|---|---|---|
| 1 | Enemy spacing | Most early damage comes from attacking before the enemy is actually safe. |
| 2 | Room nodes | Shops, minibosses, slab rooms, hidden rooms, and special rooms change the reward plan. |
 3 3 | One weapon plan | Weapon enhancements are commitment points, not random bonuses. |
 4 4 | Artifact tags | Combo tags turn several modest artifacts into a real build. |
| 5 | Slab placement | A badly placed slab can disable a key artifact by lowering its level too far. |
| 6 | Talent direction | Talents smooth out your weak point: health, defense, speed, crit, MP, luck, or inventory/combo play. |
Route basics
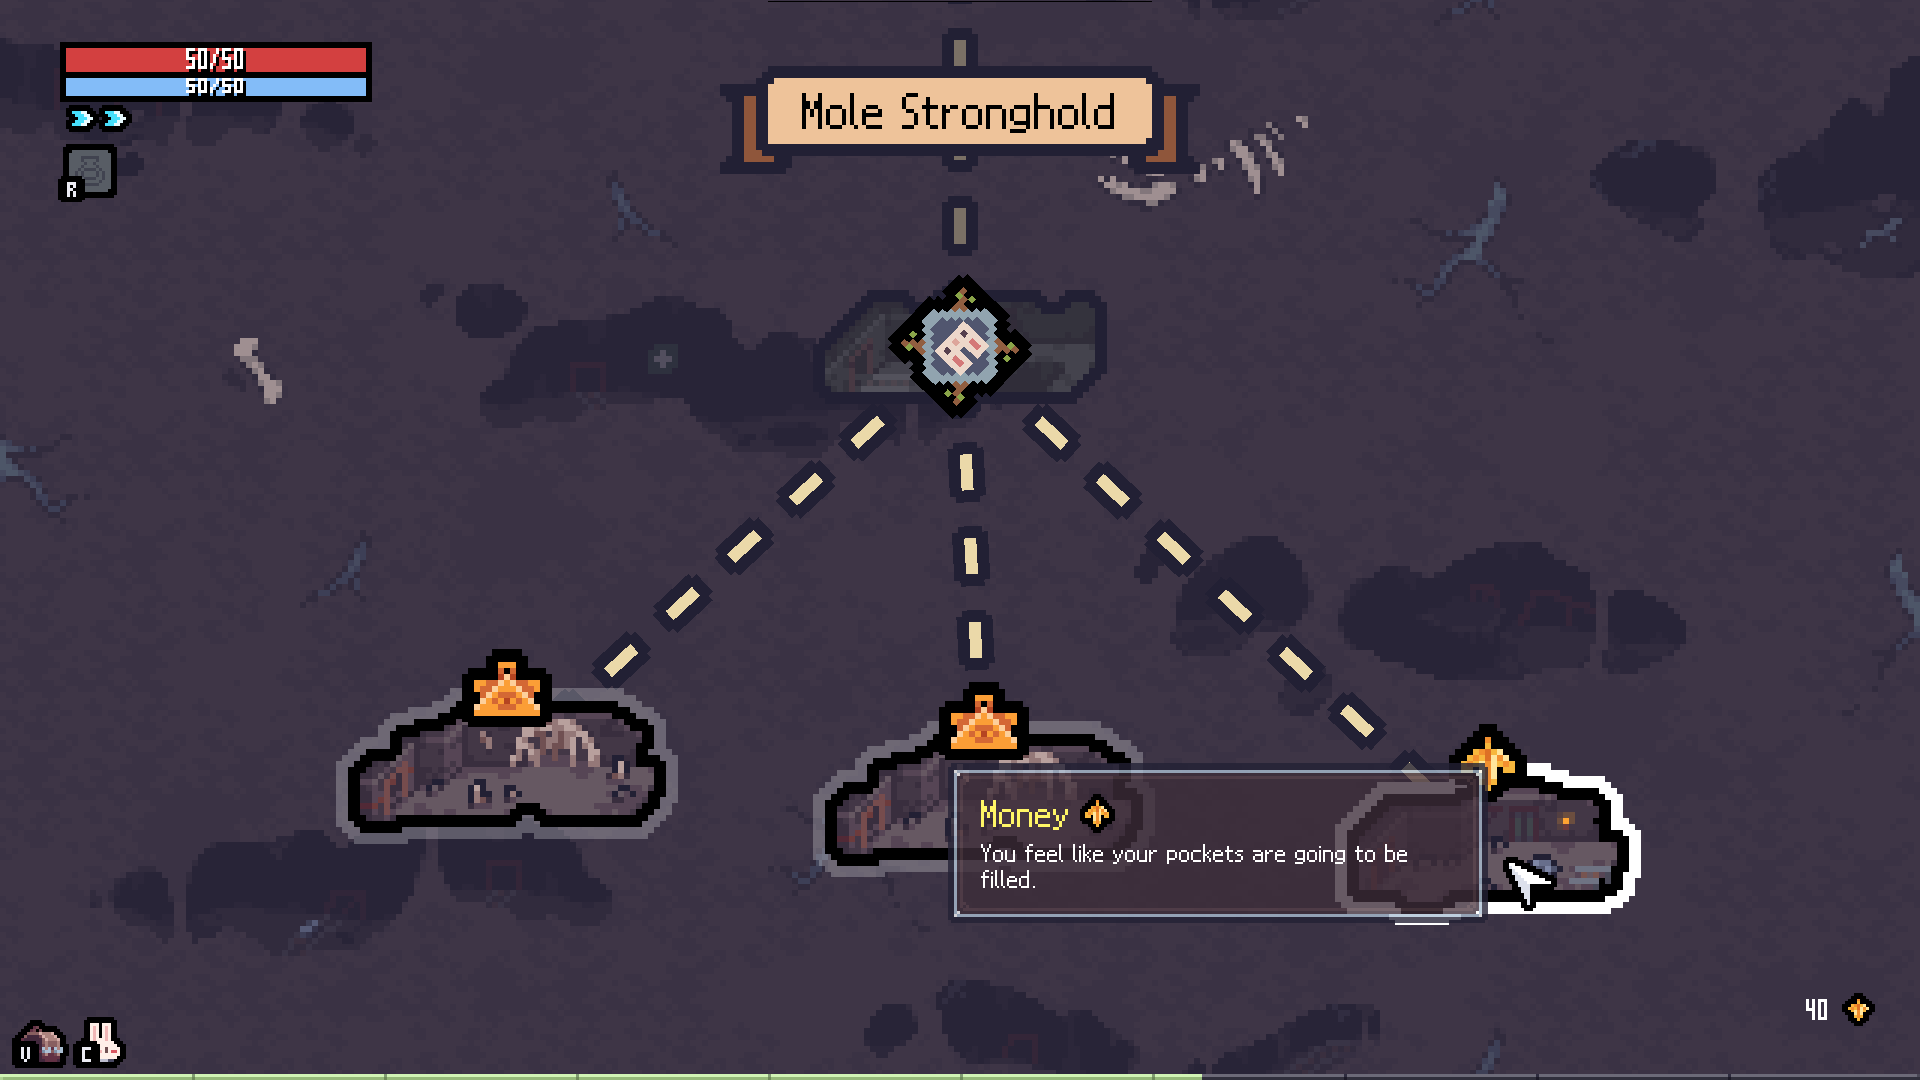
Sephiria floors are built around repeated choices before a boss room. Reward nodes can include shops, slab rooms, wandering merchants, minibosses, battle waves, hidden rooms, fountains, blood donation rooms, inventory slots, and other special events.
The most useful early habit is to ask what the next room solves:
| Node type | Why you take it |
|---|---|
| Shop | You need a specific artifact direction or sustain. |
| Slab room | Your build has good artifacts but needs level support. |
| Miniboss | You can handle the fight and want an artifact reward. |
| Hidden room | You can safely check cracked walls or stage-specific clues for extra rewards. |
| Inventory slot | Your current items are strong but cramped. |
| Miracle / special event | You accept the risk because the run already has a plan. |
Pick rewards by the problem
Before taking a route or reward, name what is failing right now. That keeps one exciting tooltip from pulling the run away from the thing it already does well.
| Current problem | Better reward direction | Poor reward direction |
|---|---|---|
| Enemies survive too long | Strengthen the weapon action or damage effect you can land safely. | Start a second damage family that needs new triggers. |
| Mistakes drain health | Take health, defense, guard value, safer spacing, or recovery. | Trade more health for a small damage gain before you can dodge consistently. |
| The core already works | Add levels, matching combo tags, or inventory support for the same plan. | Replace the working plan because a rare item appears. |
| Effects rarely activate | Choose simpler triggers tied to normal attacks, dash attacks, special actions, or a weapon you already use. | Pick conditional effects that only work with habits you have not learned yet. |
| The bag is cramped | Take space, rotate/rebuild Tablets, or keep fewer stronger pieces active. | Keep every strong-looking item even when it breaks the layout. |
Three route templates for early runs
Use these templates to learn how a build becomes coherent. They are not checklists that require every item; each one teaches a different relationship between weapon action, resource, and protection.
| Template | Start with | Build toward | Main lesson |
|---|---|---|---|
| Guard and Bash | Sword and Shield, Armored Bunny, Defense | Cleave -> Shield Bash, Lake, MP regeneration, Guardian, Sturdy | Defense only becomes room clear when MP recovery supports the special attack. |
 Ranged barrage Ranged barrage | Crossbow, movement, reload support | Bolt Speed, Precision, Windong, Sturdy | More shots are useful only when reload and escape space are solved. |
| Freeze control | Dagger, Icebolt, Swiftness | Frost Relic, Glacier, Frostbite, cold weapon route | Control is a damage engine when the weapon applies the status often enough. |
The first five meaningful rewards
Use the first rewards to test a route instead of locking yourself into a name:
- Reward one: take a weapon-compatible effect or a survival tool that keeps the base weapon safe.
- Reward two: look for the first engine piece. This can be Glacier, Guardian, Precision, Lake, Embers, Planets, or another tag that matches the weapon action.
- Reward three: decide whether the engine is actually activating. If it is not, take movement, defense, reload, or MP before another damage tag.
- Reward four: use a slab or inventory-space reward if the good pieces are already fighting for room. A cramped build is not a stronger build.
- Reward five: commit to the route only when the trigger, economy, and protection layers are visible together.
If the first three rewards point in different directions, keep the weapon's most reliable attack and pivot toward the simplest active package. Do not force a rare artifact whose trigger you cannot produce consistently.
First weapon rule
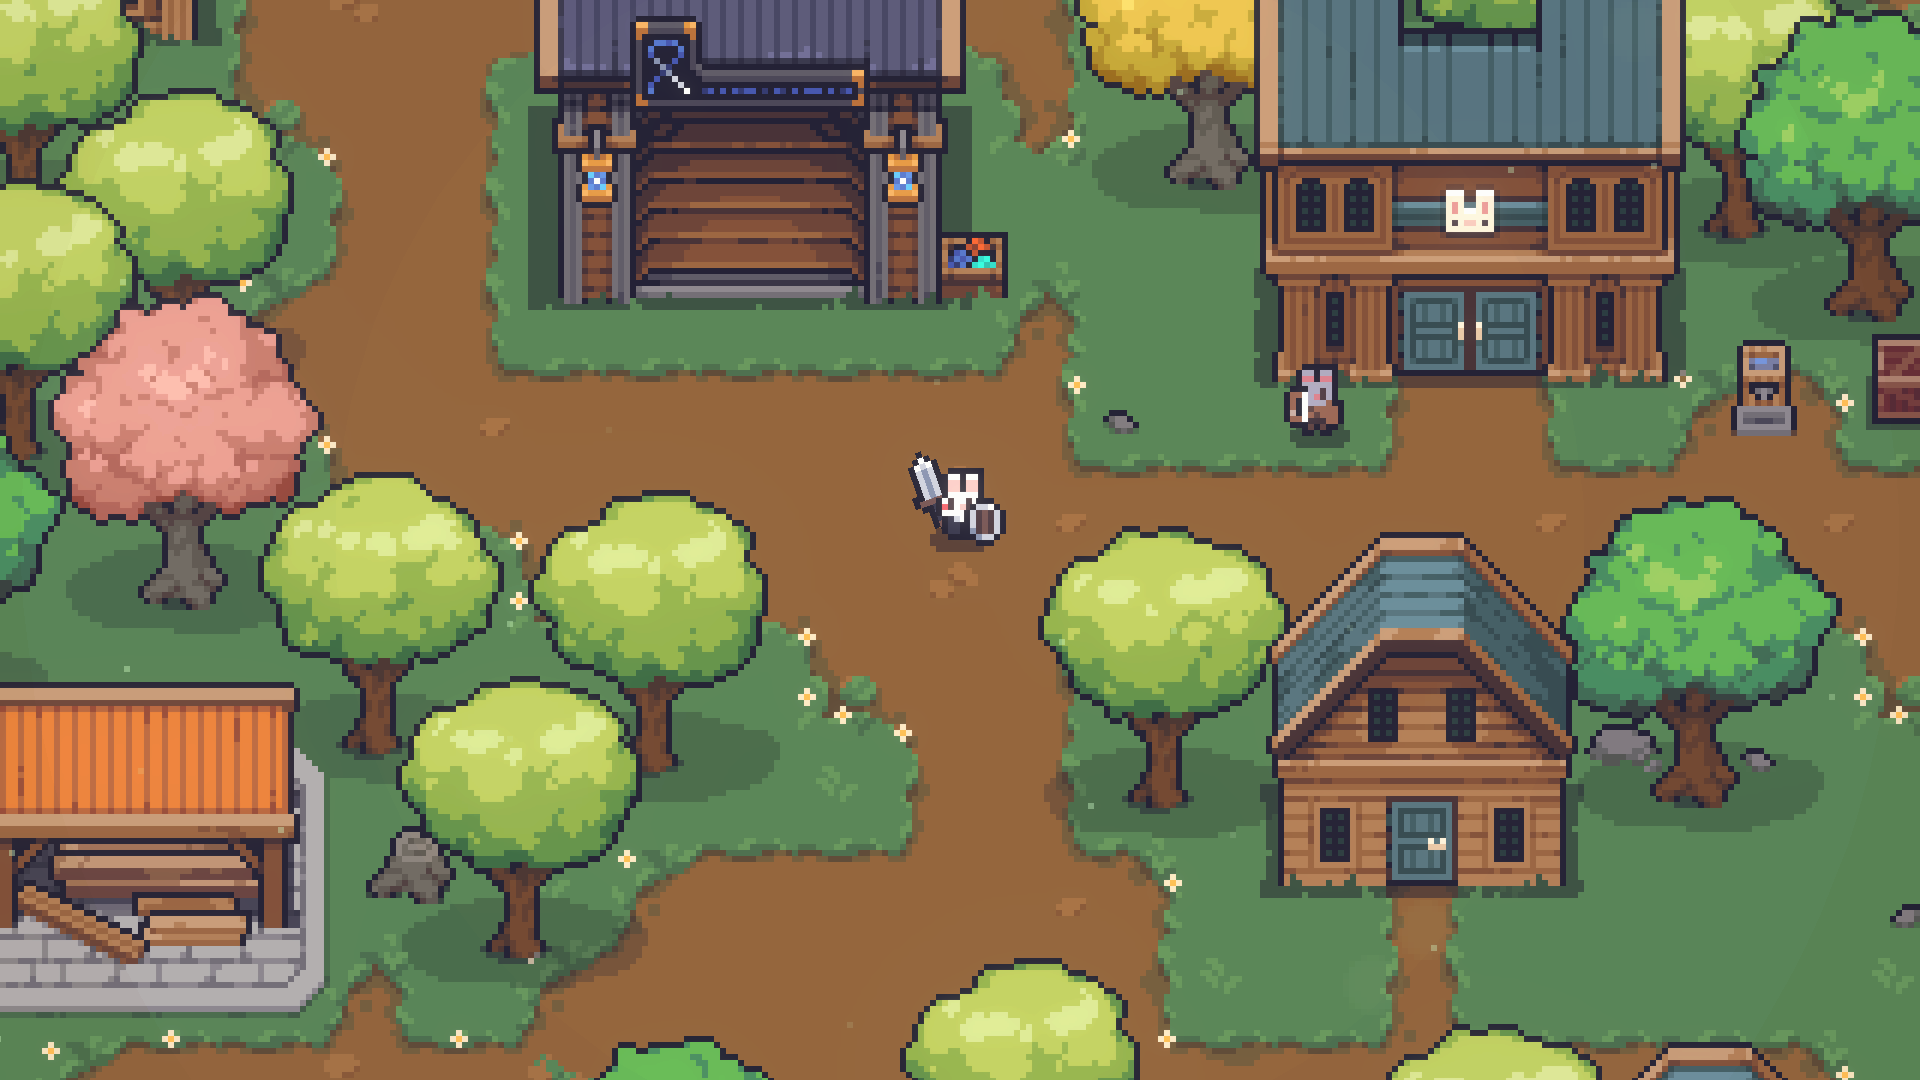
Start with a weapon you can control under pressure. Sword and Shield teaches guard timing, Greatsword teaches spacing, Dagger teaches parry timing, Crossbow teaches reload and distance, Katana teaches stance rhythm, and Staff teaches counter timing.
Do not choose a weapon enhancement only because the number looks high. Choose it because it points to a build family: guard, normal attack, special attack, dash, spellbook, companion, fire, ice, lightning, debuff, Sun Sword, or Dark Clouds.
Stay with one weapon until you can answer these five questions:
- Where does its normal sequence leave you exposed?
- Which dash attack is safe enough to repeat?
- What does the special action cost or require?
- Which artifact trigger happens naturally while you play it?
- Which enemy pattern punishes the weapon hardest?
Resource checks by weapon
| Weapon | Resource that usually breaks first | Fix before adding damage |
|---|---|---|
| Sword and Shield | MP after repeated guard sweeps or Shield Bash | Lake, MP regeneration, or a more efficient guard route. |
| Greatsword | Recovery time and unsafe gaps | Guardian, Sturdy, movement, or a simpler normal-attack route. |
| Dagger | Dash recovery and melee exposure | Swiftness, Wind Song, evasion, or Glacier control. |
| Crossbow | Reload timing and firing position | Reload speed, magazine size, movement, and an escape lane. |
| Katana | MP and stance timing | MP support, attack rhythm, or a route that rewards normal attacks. |
| Staff | Counter timing and MP spent on guards | Defense, max MP, and practice against one predictable enemy pattern. |
Inventory rule
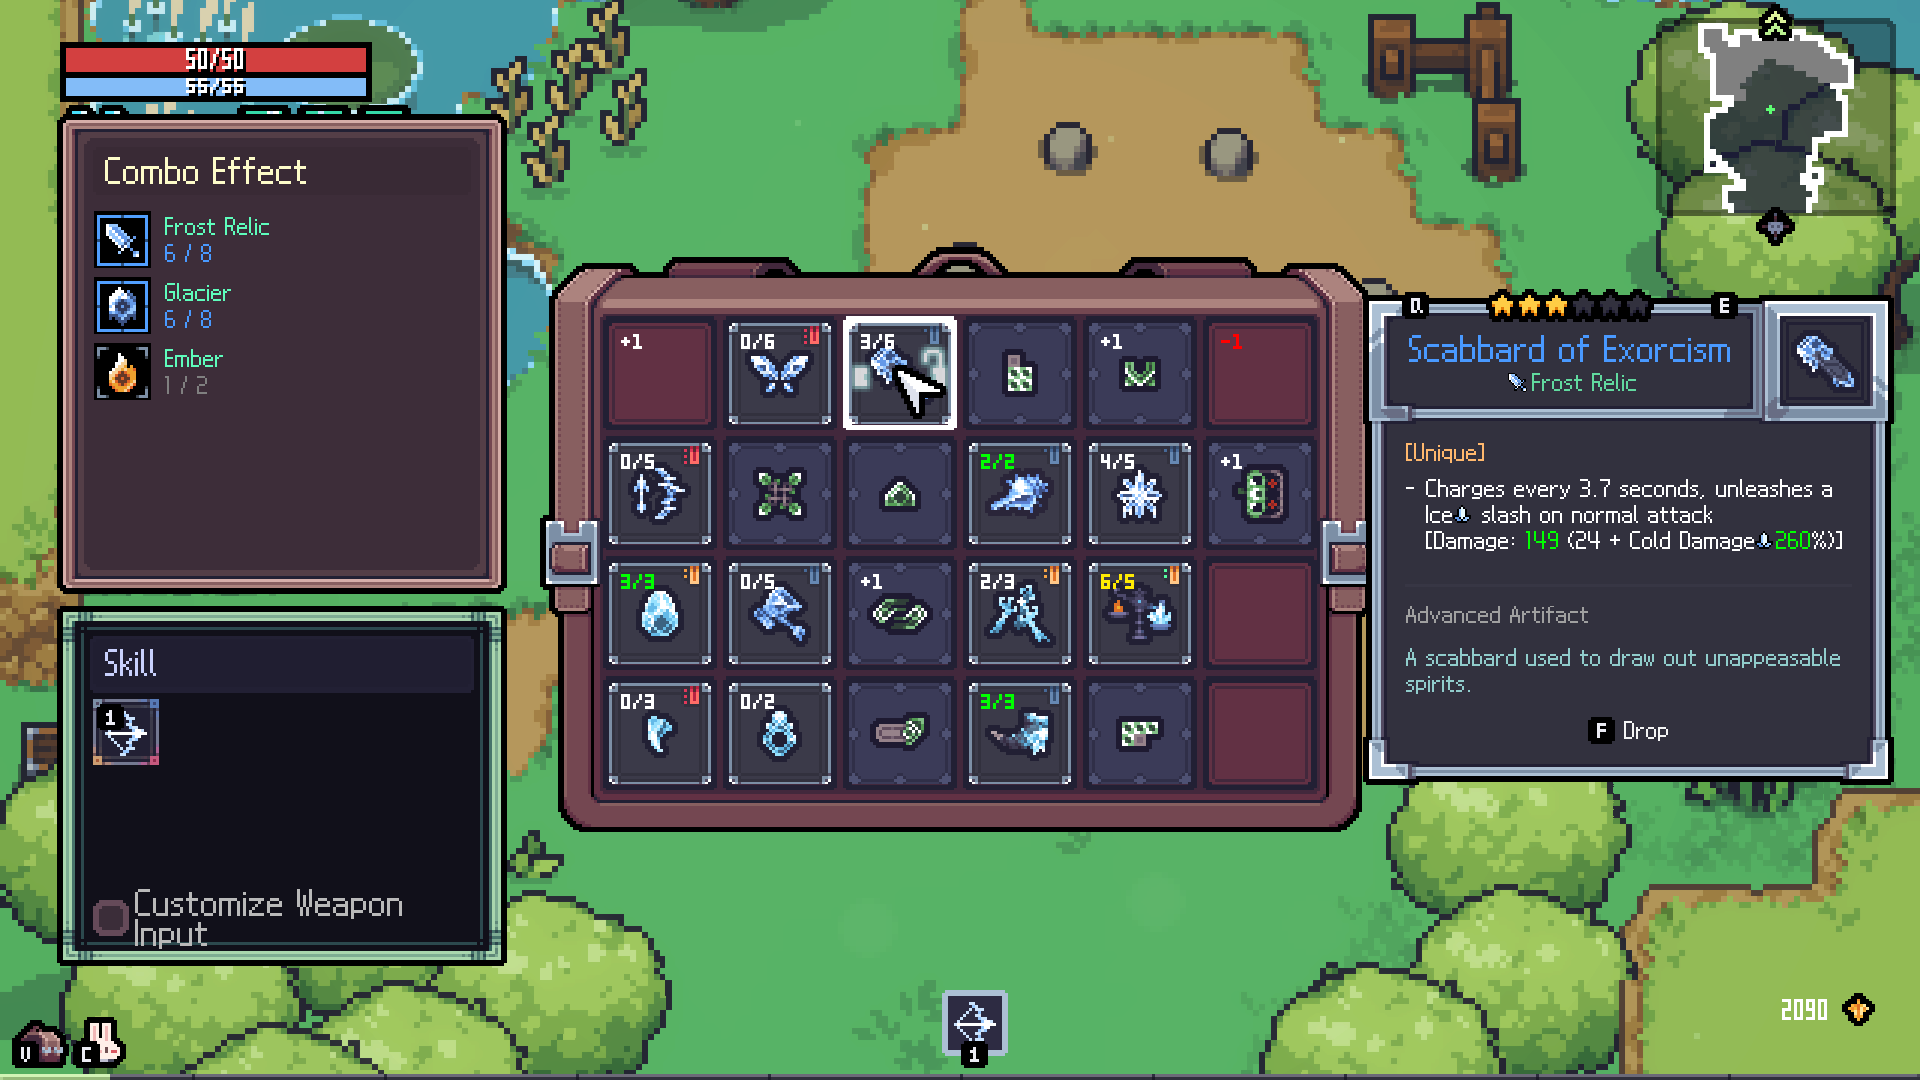
Artifacts occupy inventory space, slabs affect nearby spaces, and combo tags reward planning. A clean inventory is stronger than a messy inventory full of unrelated rare items.
Before taking a reward, check:
- Does it support my weapon enhancement?
- Does it share a combo tag with my best items?
- Can I place it without breaking a slab or constraint?
- Does it solve my current problem: survival, damage, MP, range, or boss pressure?
Common mistakes
| Mistake | Better habit |
|---|---|
| Taking every effect that looks strong. | Keep effects whose triggers match the weapon actions you already use. |
| Ignoring the backpack after a pickup. | Move and rotate Tablets before leaving the reward screen. |
| Trading health for one extra hit. | End the attack sequence early and leave room for the enemy response. |
| Forcing a build from the first reward. | Let the second and third useful choices confirm the direction. |
| Changing every system together. | Change one or two variables so the run teaches you something. |
Hard mode rule
Hard mode is worth planning around only after the core loop is stable. It adds scored modifiers and rewards progression with talent points, but the rewards need ordered clears. If your normal run is already unfocused, hard mode will expose that quickly.
Next guide path
Read these in order: