Sephiria Boss Prep Guide
A Sephiria boss preparation guide focused on inventory planning, Side Bag swaps, chapter routes, and build focus before boss doors.
Quick answer
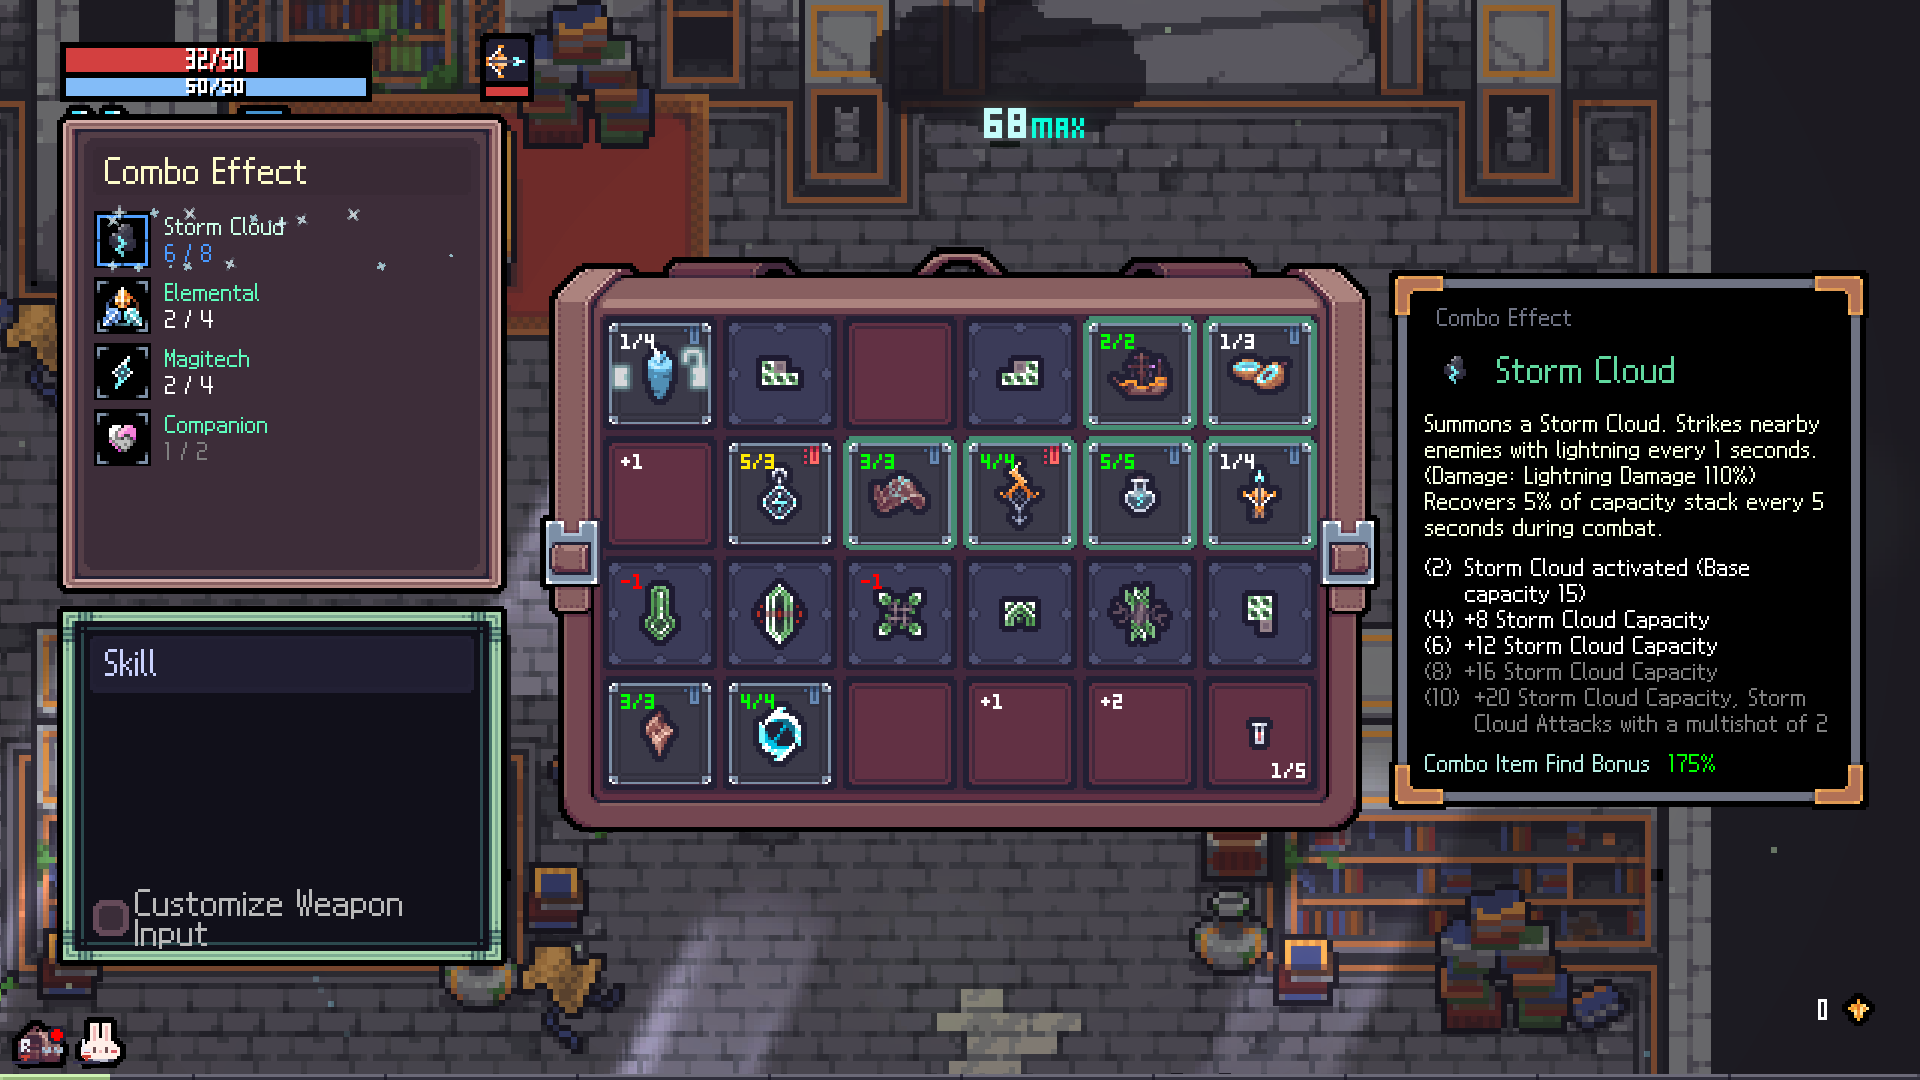
Before a boss, check the build you already have: one damage plan, active artifacts, useful tablet adjacency, enough sustain, and any Side Bag pieces that should be swapped in before the door.
Boss door checklist
| Check | What to look at |
|---|---|
| Main damage plan | Do not split the run between too many unfinished branches. Keep one weapon route or combo family as the center. |
| Artifact levels | Make sure the artifacts carrying the build are active and not pushed into disabled level ranges. |
| Tablet placement | Put level-up spaces next to pieces that actually matter for the boss attempt. |
| Side Bag | Keep situational sustain, burst, or utility pieces ready for boss swaps instead of forcing everything into the active grid. |
| Co-op | In online co-op, coordinate shared item decisions and revives before entering longer fights. |
Useful boss prep themes
| Theme | When it helps |
|---|---|
| Frost / Control | Useful when the run needs freeze uptime, attack-speed pressure, or more stable boss telegraph windows. |
| Storm / Lightning | Useful when the run needs multi-target jumps, cloud damage, or stronger room clear before boss swaps. |
| Guardian / Firmness | Useful when the run is leaning into defense, guard value, or safer sustain. |
| Side Bag swaps | Useful before chapter bosses, especially when a few situational pieces are better for the boss than for normal rooms. |
Boss preparation by route
The right boss swap depends on what your build is trying to repeat. Keep the main engine active, then use the Side Bag to repair the route's specific weak point instead of replacing the entire inventory.
| Route | Boss priority | Keep active | Side Bag / last-minute fix |
|---|---|---|---|
| Whirlwind greatsword | Keep MP spending uninterrupted while surviving low HP. | Scholar Lizard, Seran's Rush Letter, Whirlwind, Guardian, Sturdy | Defense, revive, range, or a boss-damage piece after the MP shell is stable. |
| Lifesteal blade | Maintain contact without being trapped by the one-dash limit. | Lifesteal, Wingless Bat, Guardian, Windong, Dash Recovery | Extra movement, thorns, armor, or a safer sustain piece for unavoidable contact. |
| Planet staff | Create time for autonomous damage to finish the target. | Planets, Windong, Deer, Dark Planet, Telescope | Movement, Bond support, or a boss-safe defensive piece; do not force crit. |
| Frost Relic dagger | Apply Frostbite often enough to control the approach and amplify damage. | Frost Relic, Glacier, Icebolt, Swiftness | Cold damage, movement, or a defensive item that preserves melee uptime. |
| Bolt barrage | Keep a clean firing lane through reloads and telegraphed attacks. | Bolt Speed, Precision, Windong, Crossbow Quiver | Reload, magazine, movement, or Sturdy; raw attack speed is secondary if reloads are unsafe. |
| Shield Bash | Convert guard windows into repeated Bash casts instead of passive blocking. | Shield Bash, Lake, MP regeneration, Guardian, Sturdy | Special-attack damage, MP recovery, or defense; avoid adding a second damage engine. |
| Porkinator minigun | Survive long enough for sustained fire and lightning to scale. | Minigun, Scholar Lizard, Magitech, Lightning, Defense | Attack speed, lightning support, defense, or revive value after MP is reliable. |
| Meteor fire | Stay close enough for cooldown-fed meteors without losing escape routes. | Red Snake Eyes Ember, Fire, Burn, Attack Speed | Movement, Burn support, or survivability; the co-op pacing does not justify solo greed. |
Last room checklist
Before entering the boss door, make the final pass in this order:
- Put the item that defines the route on a safe, levelled grid cell.
- Confirm the resource loop: MP, reload, dash recovery, or attack frequency.
- Remove a room-clear-only piece if a boss-specific sustain or movement swap is available.
- Keep one answer to contact damage. Freeze, guard, lifesteal, movement, range, or a revive is enough; stacking unrelated defenses usually costs too much.
- Test the route once in the last normal room. If the engine stalls there, the boss door will not fix it.
Co-op role split
In co-op, avoid building two identical fragile damage routes. A stable pair usually has one player preserving space or defense while the other converts the opening into sustained damage. Shield Bash and Whirlwind can hold attention through guard or repeated special attacks; Planet, Bolt, and Meteor routes can use that space to keep their damage cycles running.