
Build Atlas / Sephiria 1.0

Best Sephiria Builds

Compare eight practical routes by character, unlock gate, weapon path, starter item, talents, phase priorities, keyframe, and quick-jump gameplay links.

Compare routes8build routes8detailed route guides
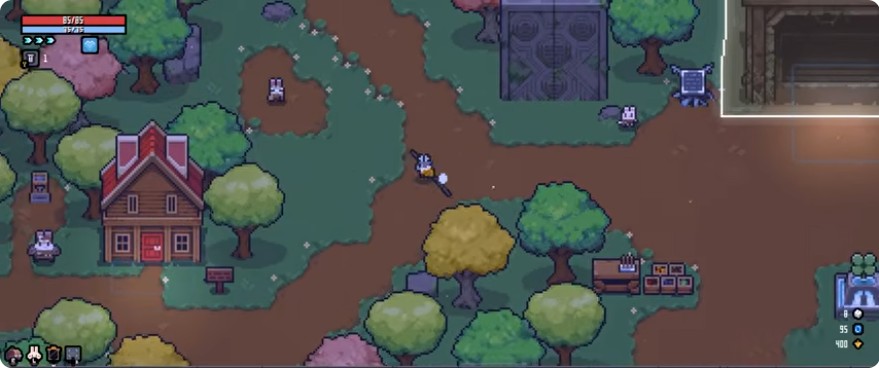
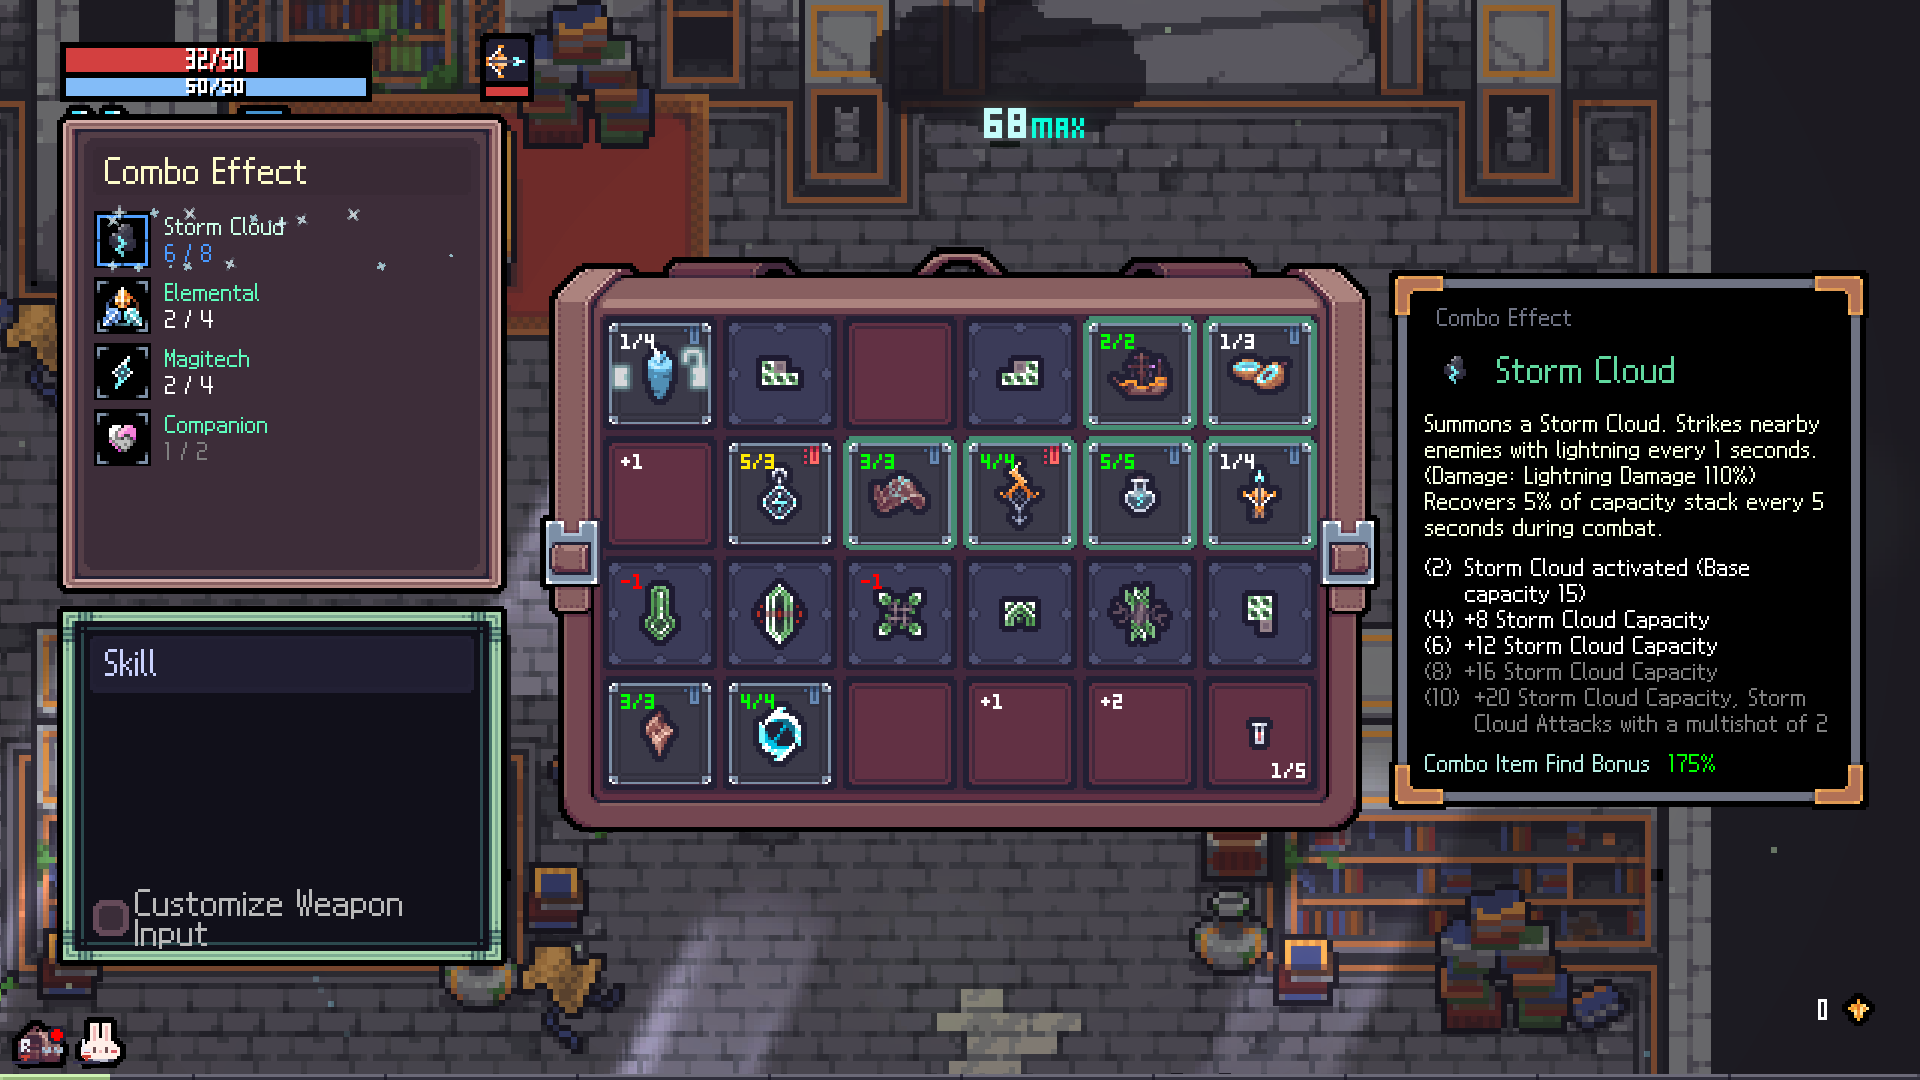
Sephiria inventory build planning screen
BUILD / IChoose the route first, then spend every slot with intent.
Quick answer

Choose a weapon route first, then make the rest of the run serve its trigger, economy, and protection layer. A route is ready when you can explain what repeats the damage, what resource limits it, and what keeps you alive while it repeats.

01

Build routes

IMid to high Hard Mode

Mighty Sky Dragon

A low-HP greatsword route that turns MP spending into Whirlwind uptime and shields.

Greatsword -> Hypersensitivity -> Whirlwind-focused special attack route
Whirlwind / Guardian / DefenseWhirlwind
IIBeginner-friendly concept; scales into Hard Mode

Blood Sucker Samurai

A lifesteal blade route that trades dash comfort for sustain and defensive uptime.

Blade -> defensive blade tree
Lifesteal / Guardian / SturdyLifesteal
IIIEarly progression to mid-tier Roots Retreat

Planet Summoner

A Deer staff route built around autonomous Planet damage, Windong, and Bond artifacts.

Staff -> Planet-supporting ranged route
Planets / Windong / Bond ArtifactPlanets
IVEarly to mid-tier; can scale higher with a complete cold package

Frost Relic Princess

A cold-damage dagger route that turns Frostbite into both control and scaling damage.

Dagger -> cold weapon tree -> Blizzard Scythe direction
Frost Relic / Glacier / FrostbiteFrost Relic
VBeginner-friendly; improves with talent depth

Bolt Speed

A crossbow barrage route that converts attack speed, reload speed, and extra bolts into pressure.

Crossbow -> attack-speed and barrage route
Bolt Speed / Precision / WindongBolt Speed
VIBeginner-friendly; can be adapted upward

Shield Bash

A beginner-friendly guard route that turns shield uptime into repeated Shield Bash casts.

Sword and Shield -> Cleave -> Shield Bash
Shield Bash / Guardian / LakeShield Bash
VIIMid-tier; Scholar Lizard is a progression gate

Porkinator

A pig-themed Scholar Lizard crossbow route that pairs sustained MP with minigun fire and lightning.

Crossbow -> minigun direction
Minigun / Magitech / LightningMinigun
VIIINormal progression co-op showcase

Meteor Spam

A fire-and-burn route that uses normal attacks to reduce meteor cooldown and widen coverage.

Sword -> Axe route that reduces meteor cooldown on connected normal attacks
Meteor / Fire / BurnRed Snake Eyes Ember
02

Detailed route guides

Each route uses the same decision order: identify the character and gate, secure the weapon path, build the core engine, then adjust early, mid, and final priorities around the route's resource bottleneck.

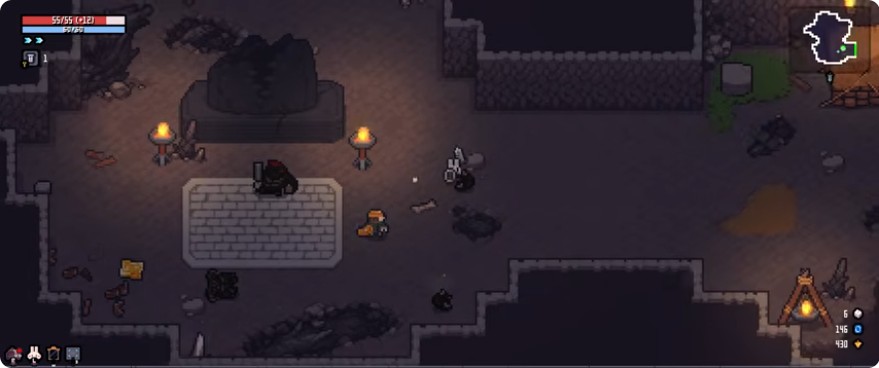
Gameplay keyframe from The Mighty Sky Dragon BuildOpen on YouTube
I / EdeyieMid to high Hard Mode

Mighty Sky Dragon

A greatsword Whirlwind route that uses Scholar Lizard MP sustain to keep the main skill online.

Build role: High-sustain greatsword reference
CharacterScholar Lizard
UnlockReach Hard Mode 20 / tier 20 progression to unlock Scholar Lizard.
Weapon pathGreatsword -> Hypersensitivity -> Whirlwind-focused special attack route
Starter itemSeran's Rush Letter artifact iconSeran's Rush LetterUse the repeated MP spend to create shields while Whirlwind stays active.
TalentsWrath for boss damage and defense penetration; Defense for low-HP recovery and an extra revive; add crit or weapon damage after the shell is stable.
Good forPlayers who want a durable melee engine with a clear Hard Mode progression gate.
Core engine
Whirlwind route reference iconWhirlwindScholar Lizard MP sustain route reference iconScholar Lizard MP sustainSturdy route reference iconSturdyGuardian route reference iconGuardianWindong route reference iconWindongDefense route reference iconDefense
Early

Take the greatsword route and enough Defense to survive the low-HP setup. Do not dilute the first rewards with unrelated elements.

Mid

Push Hypersensitivity and the Whirlwind engine, then add Guardian and Sturdy so repeated special attacks also buy safety.

Final

Layer weapon damage, crit, range, and dash comfort only after the MP loop is reliable. Use Whirlwind to own clustered rooms and boss adds.

Gameplay keyframe from The Blood Sucker Samurai BuildOpen on YouTube
II / EdeyieBeginner-friendly concept; scales into Hard Mode

Blood Sucker Samurai

A lifesteal blade route that trades dash comfort for sustain and defensive uptime.

Build role: Lifesteal and defensive uptime reference
CharacterWingless Bat
UnlockUse the Wingless Bat costume; the video treats its fixed one-dash limit as the central tradeoff.
Weapon pathBlade -> defensive blade tree
Starter itemShield Earrings artifact iconShield EarringsPair the opening lifesteal plan with armor and Guardian pieces to survive the ramp-up.
TalentsSwiftness for attack speed, evasion, and dash recovery; Luck for better fountain capacity and earlier sustain pieces; add weapon damage once the defense is stable.
Good forPlayers who prefer close-range recovery and can plan their exits around one dash.
Core engine
Lifesteal route reference iconLifestealWingless Bat route reference iconWingless BatGuardian route reference iconGuardianSturdy route reference iconSturdyWindong route reference iconWindongSpiny Shell artifact iconSpiny ShellDash Recovery route reference iconDash Recovery
Early

Accept that the build starts slowly. Prioritize a second source of lifesteal or defense before chasing damage, because one dash makes early mistakes expensive.

Mid

Build Guardian first, then Sturdy. Use Windong or dash recovery to make the fixed dash count less punishing while lifesteal begins to pay back close-range trades.

Final

Add attack speed, weapon damage, and thorns after sustain is reliable. Stay close enough to hit, but leave a safe exit lane before committing to a pack.

Gameplay keyframe from The Planet Summoner BuildOpen on YouTube
III / EdeyieEarly progression to mid-tier Roots Retreat

Planet Summoner

A Deer staff route built around Planets, Windong, and bond artifacts rather than crit stacking.

Build role: Planet and ranged-pressure reference
CharacterDeer
UnlockComplete one run without using the Wishing Fountain.
Weapon pathStaff -> Planet-supporting ranged route
Starter itemDark Planet artifact iconDark PlanetPair it with Telescope; use Luck to increase fountain capacity and improve the odds of finding the Planet package.
TalentsLuck first for early progression; with more points, combine Luck and Swiftness for attack speed, movement, and Bond Artifact access.
Good forPlayers who want ranged pressure while repositioning instead of forcing crit scaling.
Core engine
Planets route reference iconPlanetsWindong route reference iconWindongDeer route reference iconDeerDark Planet artifact iconDark PlanetTelescope artifact iconTelescopeBond Artifact route reference iconBond ArtifactSheet Music Galaxy artifact iconSheet Music Galaxy
Early

Take Luck and establish one Planet piece before searching for a perfect inventory. Staff range and movement are more important than forcing crit.

Mid

Add Windong and the second Planet support, then use Bond artifacts to make the autonomous damage loop more consistent while you reposition.

Final

Finish the Planet family, increase attack speed and movement, and keep the route clean. Deer has a severe crit penalty, so spend slots on Planet scaling instead.

Gameplay keyframe from The Frost Relic Princess BuildOpen on YouTube
IV / EdeyieEarly to mid-tier; can scale higher with a complete cold package

Frost Relic Princess

A cold-damage dagger route that turns Frostbite into both control and scaling damage.

Build role: Frozen Smelt cold-control reference
CharacterWizard Bunny
UnlockDefeat 50 enemies with a Grimoire-type weapon.
Weapon pathDagger -> cold weapon tree -> Blizzard Scythe direction
Starter itemIcebolt artifact iconIceboltUse it for early range; target Blizzard Hammer so the cold weapon route can transform it toward Blizzard Scythe.
TalentsWrath for boss damage and defense penetration; Swiftness for dagger attack speed, evasion, dash count, and dash recovery.
Good forPlayers who want safer melee rooms through freeze, slow, and repeated Frostbite application.
Core engine
Frost Relic route reference iconFrost RelicGlacier route reference iconGlacierFrostbite route reference iconFrostbiteWizard Bunny route reference iconWizard BunnyIcebolt artifact iconIceboltBlizzard Hammer route reference iconBlizzard HammerCold Damage route reference iconCold Damage
Early

Use Icebolt to soften the dagger's close-range opening. Take cold support when it also improves Frostbite or helps the weapon route reach its next form.

Mid

Prioritize Frost Relic and Glacier together. The build becomes much stronger when Frostbite is applied often enough to make control and damage reinforce each other.

Final

Stack cold damage, attack speed, and movement. Consider a Tiny Magic Conch sacrifice only when it improves Frost Relic without breaking the rest of the inventory.

Gameplay keyframe from Bolt Speed BuildOpen on YouTube
V / EdeyieBeginner-friendly; improves with talent depth

Bolt Speed

A crossbow barrage route that converts attack speed, reload speed, and extra bolts into pressure.

Build role: High-speed crossbow reference
CharacterBraided Hair Rabbit
UnlockUse the Braided Hair Rabbit costume; its attack and movement speed come with a dash-recovery penalty.
Weapon pathCrossbow -> attack-speed and barrage route
Starter itemCrossbow Quiver artifact iconCrossbow QuiverAdd Windong early to offset the character's dash recovery penalty.
TalentsPrecision for crit chance, boss damage, and penetration; Wind Song for evasion, extra dash, dash recovery, and weapon damage.
Good forPlayers who want a readable ranged lane and strong single-target pressure from a distance.
Core engine
Bolt Speed route reference iconBolt SpeedPrecision route reference iconPrecisionWindong route reference iconWindongSturdy route reference iconSturdyCrossbow Quiver artifact iconCrossbow QuiverReload Wooden Crate artifact iconReload Wooden CrateMystical Pendulum route reference iconMystical Pendulum
Early

Get the crossbow firing smoothly before chasing maximum numbers. Reload speed and movement keep the weapon from feeling stuck between magazines.

Mid

Build Precision, Windong, Sturdy, and Bolt Speed as one package. More bolts matter only when the weapon can reload and keep the player in a safe firing lane.

Final

Add attack speed, magazine size, normal attack damage, and crit. Preserve an escape route because high fire rate does not protect you from enemies that reach melee range.

Gameplay keyframe from Shield Bash BuildOpen on YouTube
VI / EdeyieBeginner-friendly; can be adapted upward

Shield Bash

A beginner-friendly guard route that turns shield uptime into repeated Shield Bash casts.

Build role: Beginner defense and MP-economy reference
CharacterArmored Bunny
UnlockAvailable from the beginning of the game.
Weapon pathSword and Shield -> Cleave -> Shield Bash
Starter itemBroken Mirror artifact iconBroken MirrorChoose Lake support as soon as MP pressure appears.
TalentsDefense 20 for a forgiving guard shell; MP Regen 20 so Shield Bash can be cast repeatedly and eventually approach an infinite loop.
Good forNew players who want defense, timing practice, and a practical MP-based damage loop.
Core engine
Shield Bash route reference iconShield BashSturdy route reference iconSturdyGuardian route reference iconGuardianLake route reference iconLakeBroken Mirror artifact iconBroken MirrorShield Mate artifact iconShield MateBlue Risk Guard artifact iconBlue Risk Guard
Early

Learn guard timing with Sword and Shield. Take Defense before greedier damage because the route is designed to survive mistakes while the special attack is still weak.

Mid

Turn Cleave into Shield Bash, then solve MP regeneration. Guardian and Sturdy make blocking valuable; Lake and MP Regen keep the attack from stalling.

Final

Add special-attack damage, lower the special cost, and keep shield-related artifacts active. If rooms are slow, add efficient damage without abandoning the guard engine.

Gameplay keyframe from Porkinator BuildOpen on YouTube
VII / EdeyieMid-tier; Scholar Lizard is a progression gate

Porkinator

A pig-themed Scholar Lizard crossbow route that pairs sustained MP with minigun fire and lightning.

Build role: Minigun, Magitech, and Scholar Lizard reference
CharacterScholar Lizard, Pig Variant
UnlockReach Hard Mode 20 / tier 20 progression to unlock Scholar Lizard.
Weapon pathCrossbow -> minigun direction
Starter itemSeran's Rush Letter artifact iconSeran's Rush LetterFirefly is the opening Magitech choice discussed in the video.
TalentsAttack Speed 20 for firing rhythm and dash comfort; Defense 20 for low-HP recovery and an extra revive.
Good forReturning players who have the Scholar Lizard unlock and want a sustained-fire engine.
Core engine
Minigun route reference iconMinigunScholar Lizard route reference iconScholar LizardPig Variant route reference iconPig VariantMagitech route reference iconMagitechLightning route reference iconLightningFirefly artifact iconFireflyElectro Chakram artifact iconElectro Chakram
Early

Use the crossbow while building Magitech and defense. The pig variant helps, but the character still has a low-HP identity that needs respect.

Mid

Push toward the minigun weapon form and add Lightning support. MP is an engine for both special attacks and Seran's Rush Letter shields.

Final

Complete Magitech and Lightning, then add attack speed and sustained-fire support. Keep enough defense to survive the long rooms where the minigun pays off.

Gameplay keyframe from Meteor Spam buildOpen on YouTube
VIII / Zueljin PlaysNormal progression co-op showcase

Meteor Spam

A fire-and-burn route that uses Red Snake Eyes Ember to turn normal attacks into meteor coverage.

Build role: Fire, Burn, and meteor-cooldown reference
CharacterBraided Hair Rabbit
UnlockUse the attack-speed costume to make normal attacks feed the meteor engine.
Weapon pathSword -> Axe route that reduces meteor cooldown on connected normal attacks
Starter itemRed Snake Eyes Ember artifact iconRed Snake Eyes EmberBuild the surrounding fire and Burn package rather than treating the meteors as a side effect.
TalentsAttack Speed is the starting axis; add movement, fire damage, Burn support, and survivability as the meteor loop becomes active.
Good forPlayers who enjoy active melee rhythm and want every connected swing to feed a spell loop.
Core engine
Red Snake Eyes Ember artifact iconRed Snake Eyes EmberOak Tree Coal artifact iconOak Tree CoalFire Damage route reference iconFire DamageBurn route reference iconBurnAxe cooldown reduction route reference iconAxe cooldown reductionAttack Speed route reference iconAttack Speed
Early

Find Red Snake Eyes Ember and keep normal attacks frequent. The build is about creating more meteor events, not only making each burn tick larger.

Mid

Move into the Axe route and add Oak Tree Coal, fire damage, and Burn stacks. Every connected swing should help the next meteor arrive sooner.

Final

Finish the fire-and-Burn package, then tune movement so the player can remain near enough for meteor coverage without being trapped by melee enemies.

03

Sources